Do not be afraid! There's a cure for that. Pirates at the Natural History Museum.

My very first official costumed outing with the San Diego Costume Guild. It was a most wonderful time. Everyone in their 18th century pirate finery. We toured the exhibit, which was very well presented, then enjoyed a lunch on the lawn. With warm weather and good food, we shared our experiences in costuming. Great fun indeed.

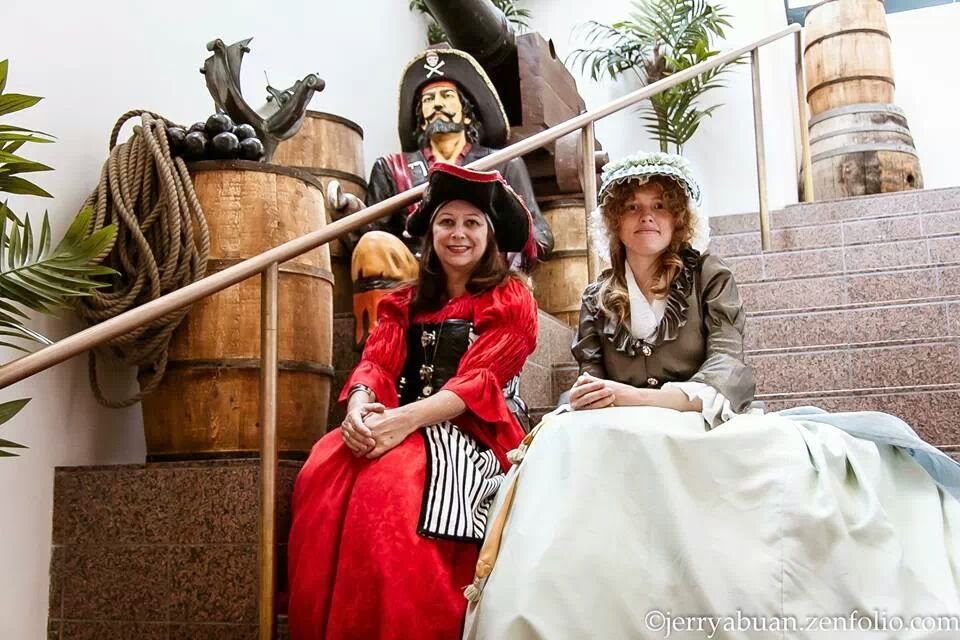
The museum set the stage very well. These awesome hanging pirates were in several places inside and on the building outside. I did a double take when I saw the first one on the building exterior.


Some of you were asking about my hat & cap. There are a few photos here of how I put the hat & cap together for you to see. All but two steps were hand sewn, for the hat & for the cap, it
was completely hand sewn. When I started my research I came across an article that said if any part of your historic costume was worthy of hand sewing it was your cap, which is surrounding your face, which is the first thing people look at when they meet you. Sound advice which I took and as your compliments and questions can attest, it was well worth the extra time.


The basic structure of the hat was constructed from very thick fusible interfacing that I had left over. I cut a small circle and a 1inch wide by 15 inches long or so. I whip stitched the two together to make the center rise of the hat. Then I put it down on a larger piece to trace the shape for the center hole. Then I decided on how big around I wanted it and cut out the brim of the hat. The next step was to cover my two parts in fabric. The brim was a long rectangle two times the width of the brim plus an inch. Then it was wrapped around from the outside to the inside, pinned into place to created nice even gather lines. I did a regular running stitch to hand tack it along the edge. Then I covered the outside of the center cap, tacking it into place and whip stitching it to the brim. After that I made my pleated ribbon strand. Then took the two long strips of already pinked fabric, stitched them together on the sewing machine with a long stitch and tight tension, which gathered as it stitched, to make the ruffle for the top. The pleated ribbon was pinned in place and a green ribbon was sewn on the machine around the edge to anchor both parts of the rim. The ruffle was pinned on and hand tacked. The ribbon underneath for tying the hat on was pinned at the joint where the center cap was whipped to the brim, laid out toward the outside of the brim. It was sewn in with the rim ribbons and the pinned spots were covered when I finished the underside with a piece of fabric. Sorry there is no photo for the underside. But I'm sure you'll be able to handle that part. The inspiration for the cap & hat are here for you to see.


The cap was hand sewn completely. The brim wasn't pleated in the photo of the final product here, but I put it here for you to see the difference as both options are possible and the ruffled look might compliment your face better. The pleated piece was just a long rectangular piece, hemmed all the way around. The cap & joining piece were from Simplicity Pattern 2354. I used pattern A even though pattern D is a cap, I liked the brim shape of A to match the inspiration pics. All pieces were hemmed, then pinned to the corresponding part, pleated where it was needed and then everything was whipped stitched together by hand. It created this lovely edging detail. The last step is the pocket for your tie at the back. Press your fabric to hem, whip stitch to created a pocket, cut twill tape to a decent length (or what pattern calls for) and draw it through. You can tack it in the center so you don't risk pulling it out, but if you are careful you don't need to do that step.


Photos provided by friends, myself and Jerry Abuan; jerryabuan.zenfolio.com.